Document Management
What?
Documents can be attached to any ServicePRO object, not just service requests. For example, you can attach SLA agreements to internet services, warrantee agreements to assets, resumes to new hire project task etc.
Why?
Document management functions enable users to capture, index, store, manage, search and retrieve documents across the enterprise. It does so while adhering to the security structure that has been set up by the administrator.
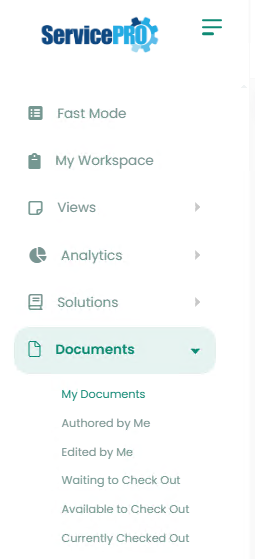
Documents Tab
Users can access Document View from the Documents tab of the main menu.
Documents Work Area
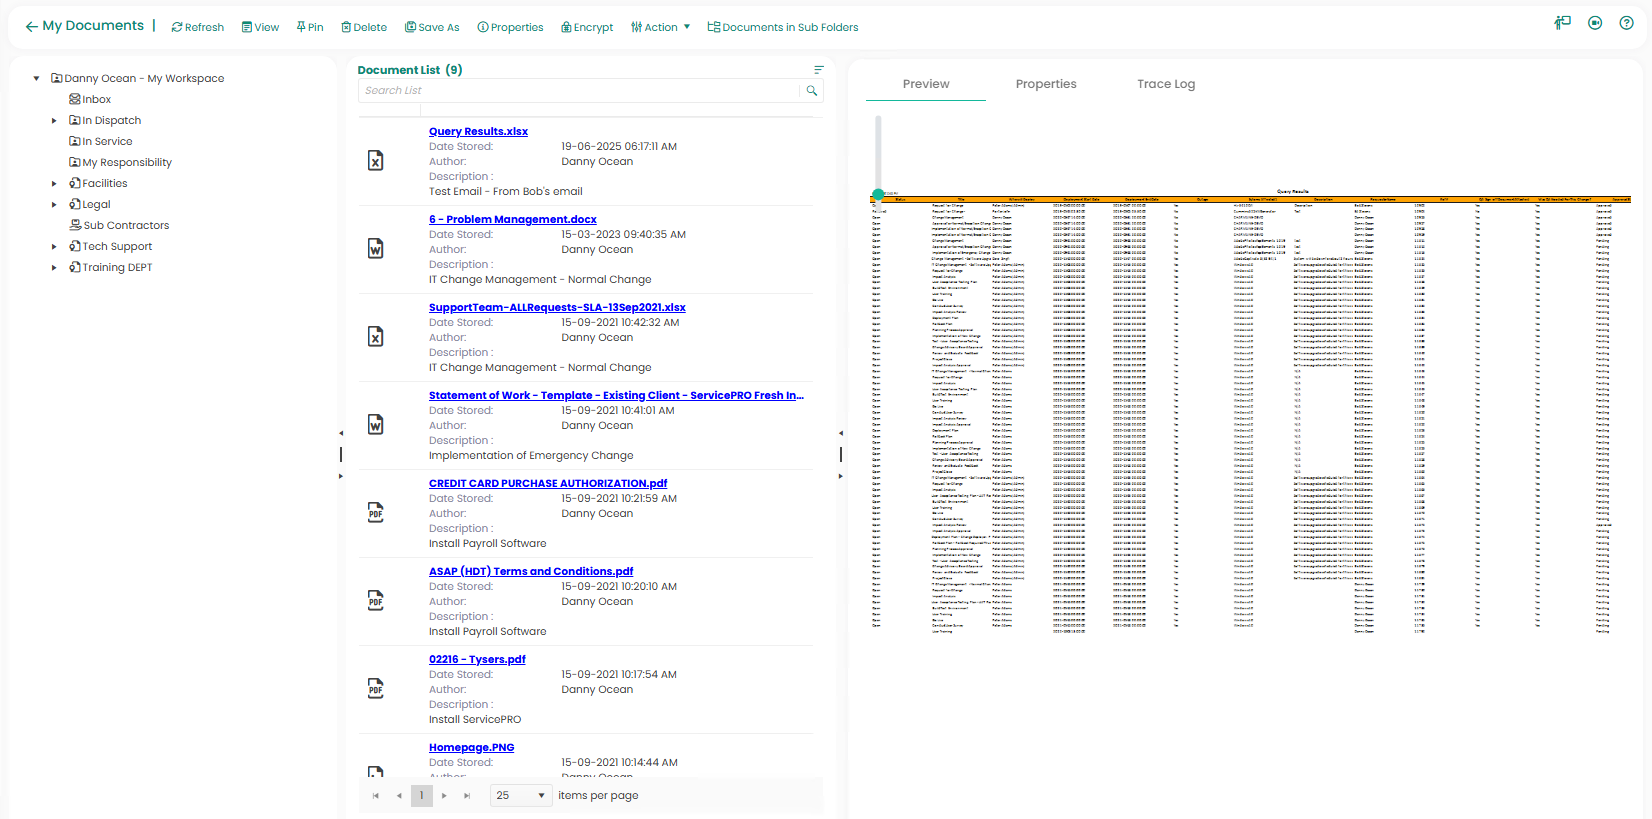
The Document management module contains the following work areas:
1. My Documents Toolbar:
- Refresh
- View
- Refresh
- Pin
- Delete
- Save As
- Properties
- Encrypt
- Actions
- Documents in Sub Folders
2. Folder List
- View all the queue folders to which you are assigned to. Same folder structure is also available in your workspace
3. Documents List
- This section displays all the documents attached to the requests within the queue folder you selected from the Folder List.
4. Preview Pane
- This section displays a preview of the selected document. Document preview also has additional tabs , document details as well as the trace logs noting what has occurred with this document.
Home Tab Ribbon Toolbar

The ribbon toolbar of the Documents Home tab contains the following:
- View – this will download the currently selected document.
- Pin – This will bookmark the document which will be readily available under “Recent Documents”.
- Delete – This will permanently delete the selected document
- Save As – This allows you to save the selected document locally while leaving it “Checked In”
- Properties – View the Properties of the selected document such as title, author name, version number etc.
- Encrypt – Users have the ability to encrypt documents and attachments for other privileged users and teams in ServicePRO. To set a pass phrase for encrypting and decrypting documents please refer to ServicePRO User Options. For the details on encryption, please refer to the section Encrypting Attached Files
- Action - contains the following options:
- Check Out – When a user checks out a document for making changes, the attachment will be downloaded in the Downloads folder and opened for editing, as opposed to prompting the user to select the location.
- Check In – When the user tries to check-in document that was checked out before, it requires the user to select the file manually for checking in. It will not automatically pick the file from where it was checked out to.
- Undo Check Out – If you have checked out a file, clicking on the “Undo Check Out” will cancel the action and change status of the document back to “Checked In”
- Waiting for Check Out – if you wish to “Check Out” a file that is currently checked out by another user, you may click on the “Waiting for Check Out”. ServicePRO will send a notification when the document is checked in by the previous user.
- Force Check In – this will force the selected document to be checked in immediately.
- Documents in Subfolders – this is a filter for whether or not you wish to view documents located within a workspace subfolder
Note:- When clicking an attachment under the documents tab / documents list to view, the attachment will be downloaded and saved in a local folder instead of opening the attachment for viewing. In order to view the document, the user needs to open the attachment from the downloaded location.
Documents View Tab
Filter visibility of available documents by several categories:- Authored By Me – View documents that you have submitted.
- Edited By Me –View documents you have edited.
- Waiting To Check Out –View documents that are Waiting to Check Out
- Available To Check Out –View documents that are Available to Check Out
- Currently Checked Out –View documents currently Checked Out
Binders
ServicePRO Binders allow Users to organize documents into folder-like structures within a Service Request. This allows for easier viewing and sorting of documents.Accessing Binders
To view Binders for Documents:
- From the ServicePRO Workspace, select a request that already one or more documents attached.
- Right-click the request, and select Request Detail from the dropdown list.
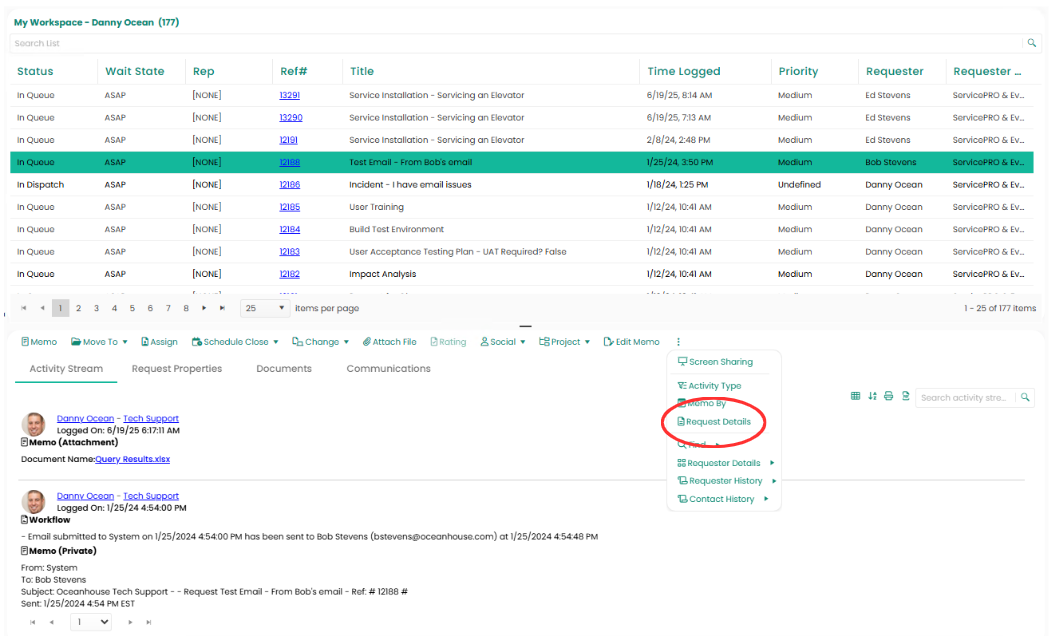 View Request Detail dropdown option
 - This will open the request Preview window, starting with the tab for Activity Stream. From here, Navigate to the Documents tab.
- The Documents tab will be open. The interface is similar to the Document Management module, but also includes the Binders section in first section of the Ribbon Toolbar.
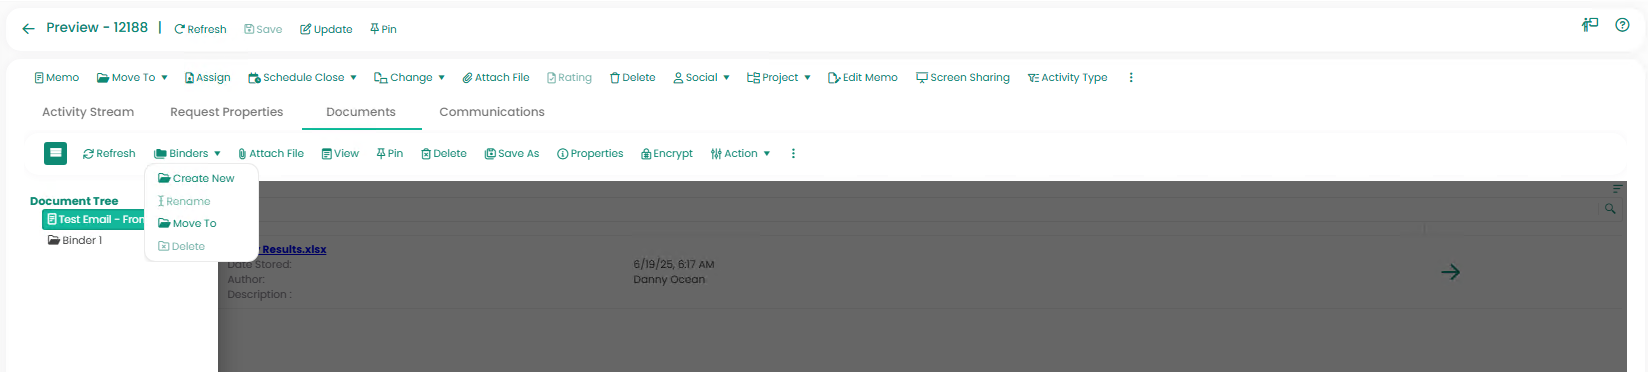 Documents Tab - Binders section in the Ribbon Toolbar
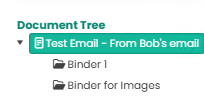
By default, documents attached to the Service Request will be placed in the top level of the Document Tree. Documents can then be moved into Binders like subfolders.
Using Binders
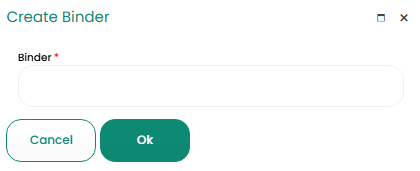
The following options are available in the Binders Task Group of the Ribbon Toolbar:Create New
Creates a new Binder in the Document Tree. You will be prompted to enter its name in a text field. The binder is automatically created under the selected section of the Document Tree, whether that is the base request or another Binder in that Service Request.
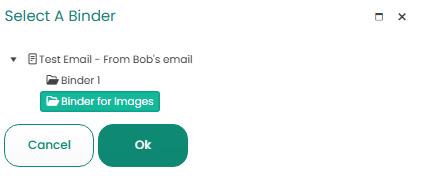
Move To
Items from the Document List can be moved to other Binders in the Document Tree. Select an item you wish to move from the Document Tree, then select Move To in order to open the Select A Binder window.
Select the Binder you wish to place the item in. After refreshing, the item should be moved to that Binder.
This is useful for separating numerous documents within a Service Request into categories.
Rename Rename a selected Binder.
Delete
Delete a selected Binder.